If you follow the NBA, you’ll know Jason Kidd was traded from the Nets to the Dallas Mavericks. (While I like Jason Kidd and he is a great player, giving up Devin Harris was stupid on Mark Cuban’s part). If you’re like me and want the wallpaper of his shoe to match his current team colors instead of his old team colors, then you’ll have to turn to Adobe Photoshop. This tutorial will show you the best way to change the colors of the shoe easily and quickly.
You may already know since Photoshop CS 2, there is the color replacement brush, but the tool isn’t always the most effective tool. The color replacement tool also applies it modifications directly on the photo layer so is a “destructive” process. If you’ve played around with the color replacement tool, you’ll know that the process of using layers (as shown in this Photoshop tutorial) is basically the same process.
Get the Resources
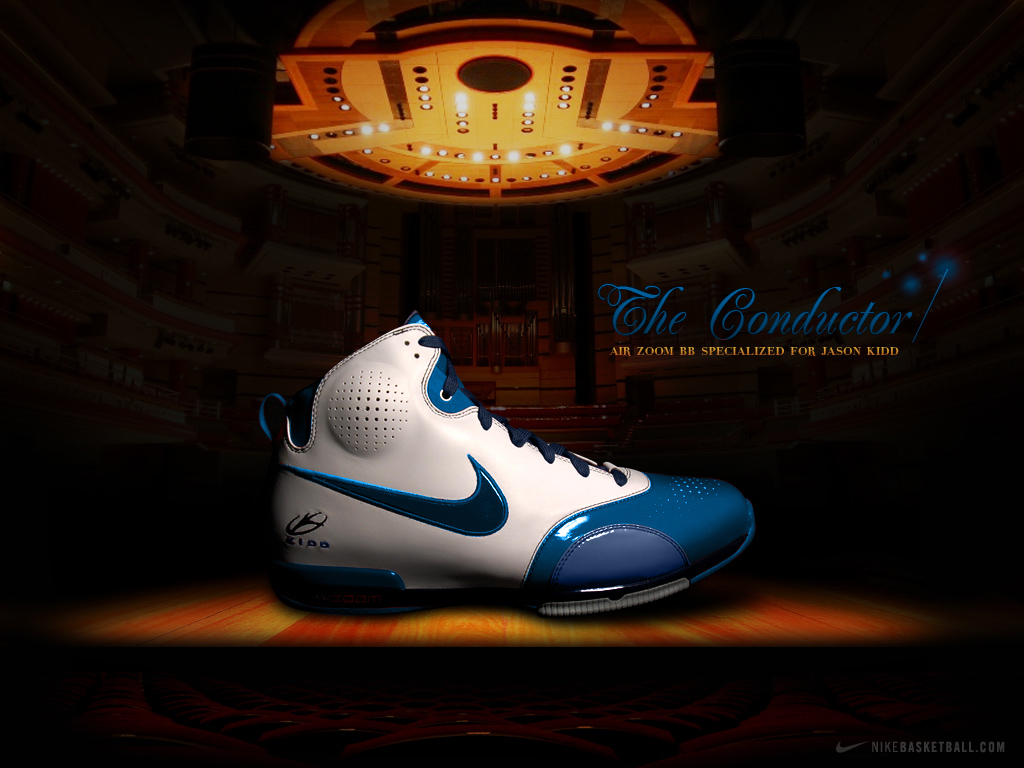
Grab a wallpaper from the Nike Basketball website or the Jason Kidd wallpaper. We’ll also need the Dallas Maverick Team colors. For the main color, we’ll use the light blue #009CFF and accent it with the dark blue #010C22.
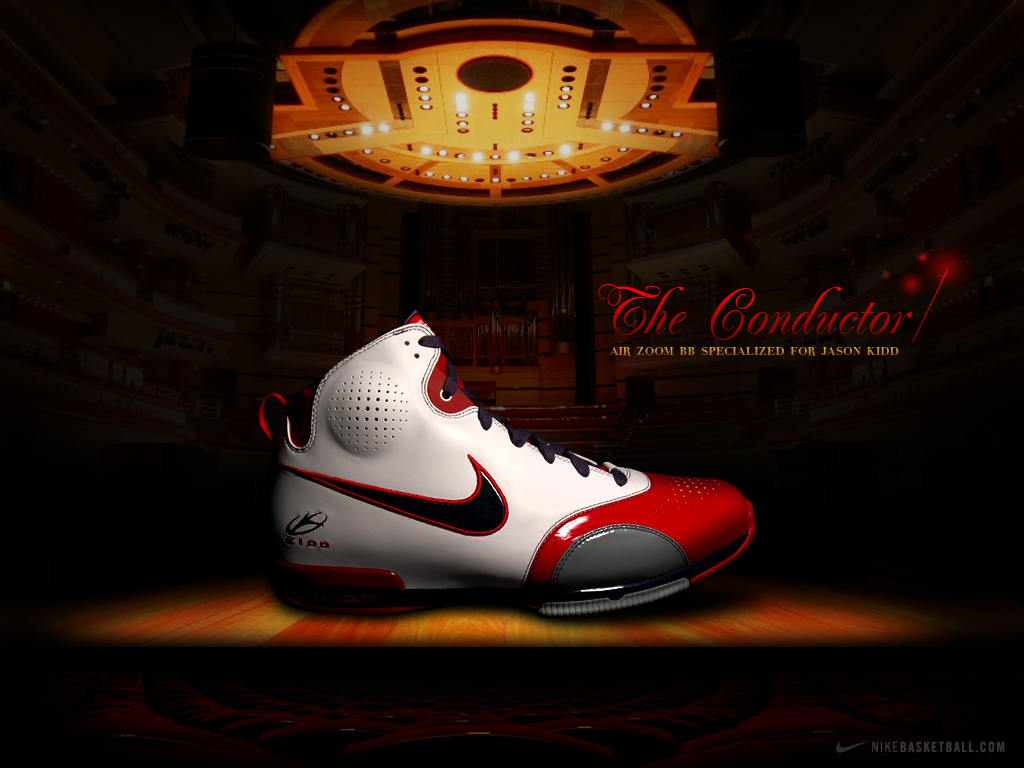
The orignal shoe wallpaper done in Nets team colors.

We’ll use the Mavericks team colors to re-color the shoe.

Pen Tool
Take the pen tool (set to the shape layer option) and start to outline the red toe of the shoe with the color set to the light blue. Try to cover all of the red area, but if you let a sliver of red show, you can always fix the points later.
Blending Mode: Color
Here is where the magic starts. Simply set the pen tool layer you just created in the previous step to blending mode “Color”. To do this, in the Layer palette click on the shape layer, and change the first drop down menu from “Normal” to “Color”
Continue to outline each part of the shoe where the color needs to be changed. This includes the swoosh logo, tongue and sole of the shoe. Again, setting the layer blending mode to color. I used the dark blue to color the laces, and the light blue everywhere there was red on the shoe.
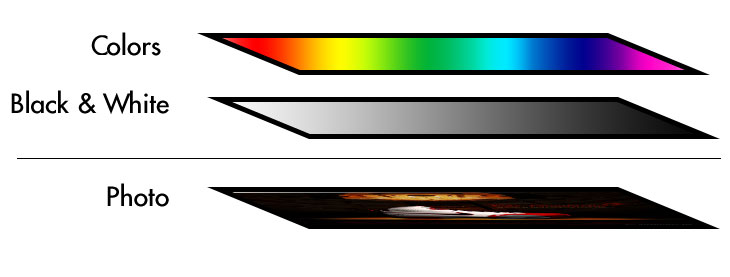
To illustrate how the coloring mode works in Photoshop, try to imagine that the photo is comprised of two layers, one that contains the color of the photo and the other contains the black and white of the photo. The black and white layer contains the shadows and highlights and the color layer contains just solid blocks of vivid color. Its hard for color to show through when a part of the black and white layer is extremely light or dark. By setting the blending mode to color of the shape layer, you are only changing the color layer of the photo to different colors, in this case light blue. What is great is that the layer isn’t obstructing the shadows and highlights so it appears as you are just re-coloring the shoe.
Coloring Dark and Light Areas
If you try coloring a white or black part of the shoe, you’ll notice the colors don’t really stand out. This is because color doesn’t show in extreme shadow or light. If you want to color one of these areas, for example the inside of the Nike swoosh on the shoe, you’ll need to bring up (or down for a light part) the luminosity. Outline the area you want to change with the pen tool just like you would if you were going to set the layer to color. Instead set the color of the layer to white and set the layer blending mode to “Luminosity”. You will need to bring the opacity of the layer down quite a bit, but now simply duplicating that layer above the luminosity layer and setting it to blending mode “Color”, you can apply color to the layer.
Using the light blue color and the brush tool, you can color the text of wallpaper blue as well. You can brush over the entire text then use the magic wand tool to select the outside of the text and deleting the selection. Again set the blending mode to color.