While it may be overlooked with high bandwidth connections becoming ever so common, it still is important to optimize an image. If you visitors can’t load your web site quickly, they will leave because it is easy to find another website to look at.
Reduce image sizes to the size it will appear at on the web page!
There are two reasons to do so: reduce file size and downsized images look bad in web browsers.
- You can save bandwidth by optimizing your images to the size they will appear on the web page. If you want, you can create a thumbnail image for the web page, and link to a larger version.
- While the Safari web browser is good at reducing images, web browsers like Internet Explorer and Firefox don’t do that well at showing images at small sizes than they are made for (it can make the image look really bad, trust me).
Gallery images
If you don’t want your readers click off the web page to view a large image, there is a cool solution to this problem. Litebox is a script that allows you to pop up an image in the web page to show a large version of the image. The script isn’t that large of a file size and can improve the usability of your site.
Image Compressions Formats
The three standards currently are JPEG, GIF, and PNG. Each format has its upside and downsides, but if you use the right format for your situation, everything should be fine.
- JPEG or JPG is a the best format to use for images like photos. There is no transparency with jpeg images.
- GIF is the best format for web graphics and illustration type images. GIF is great for graphics because the color palette, unlike a jpg image, is limited to 256 different colors. This allows a gif format to boast smaller file sizes, while retaining good detail when a graphic image is exported. GIF can also export images with transparency, but can leave jagged edges.
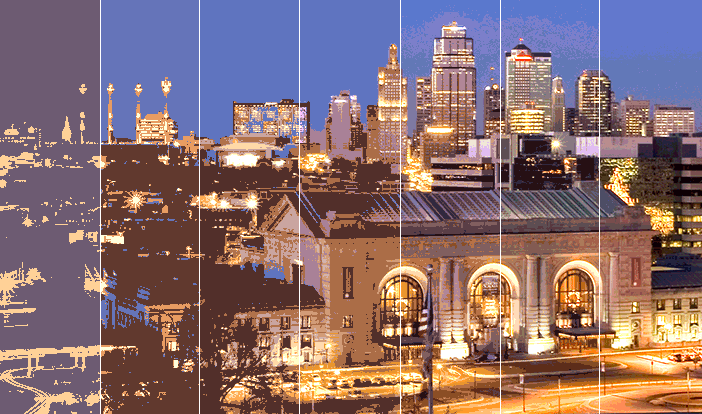 Figure 1. This is how a Gif image looks at different color ranges.
 - PNG is a competitor to the GIF format. There are two versions of PNG, 8 and 24. Version 8 is very similar to GIF, so the one to look at is 24. PNG 24 can sport great detail that one would want from a jpg image, but is able to compress the file size better. PNG 24 also allows you to export transparent images that would appear jagged with exporting with gif.
Exploring Export To Web… in Photoshop
Photoshop has a simple to use mini application in Photoshop thats sole purpose is to get images web ready. To get to it, go to the Menu Bar, File >> Save for Web… A large window will open up with the document you have open in the new window. To the right you’ll see the options for which file format to compress at. The only two options you need to worry about is the compression formats (GIF, JPEG, PNG-24) and colors for gif and image quality for JPEG. For PNG-24 you need to set whether the image is transparent or not. If you go to the 4-up tab, Photoshop allows you to compare 4 different exporting settings. The image size of each export setting is stated under the image along with the compression settings. You can test whether its worth it to limit the color palette of a gif image, or if bringing down the jpeg quality is noticable.
Changing Image Size
As stated before, you want to compress the image to the actual size at which they will appear on the web page. You can easily change the size of the image with in the window so that you don’t have to worry about reducing the document. To the right of the image and under the compression options, you’ll see to tabs, ‘Color Table’ and ‘Image Size’. Click on the ‘Image Size’ tab and you can easily punch in a new image size. Make sure to check the ‘Constrain Proportions’ and hit the Apply button.
- When exporting transparent images, your best bet is with PNG-24. The file sizes tend to be larger, but they provide spot on quality.
- When dealing with vector art, cartoons or any type of clip art, your best bet is GIF compression.
- When dealing with photos, the best bet is JPEG compression.