Be sure to check out the second iteration of the image gallery.
This free image gallery based on javascript is a quick & easy solution. Implementing the demo doesn’t requre knowledge of any javascript. In this article, I’ll explain and breakdown the javascript that runs the image gallery using the javascript framework Mootools.
Demo:

 The Javascript image gallery is built from Mootools, an open-source object-oriented Javascript framework. If you’ve seen some cool graphical interactions you wouldn’t expect on a web page, chances are they are Mootools or another similiar framework like jQuery.

The Javascript:
window.addEvent(’domready’, function() {
var drop = $(’large’);
var dropFx = drop.effect(’background-color’, {wait: false});
$$(’.item’).each(function(item){item.addEvent(’click’, function(e) {
drop.removeEvents();
drop.empty();
var a = item.clone();
a.inject(drop);
dropFx.start(’7389AE’).chain(dropFx.start.pass(’ffffff’, dropFx));});
});
});
The HTML:
<div id=”items”>
<div class=”item”>
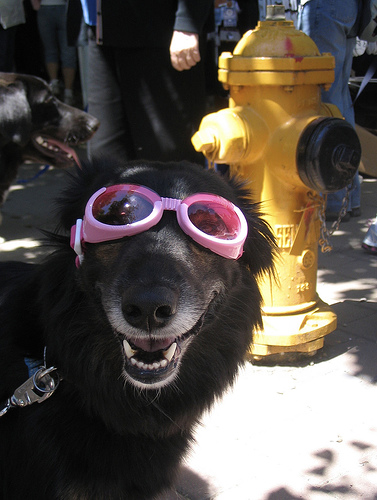
<img src=”images/167461515_05807d9fdc.jpg” alt=”image” />
<p>Image 1</p>
</div>
<div class=”item” >
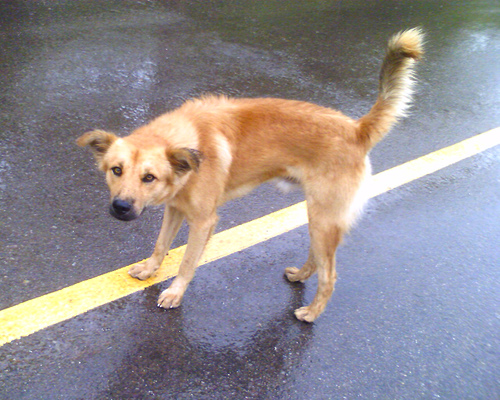
<img src=”images/229805603_e84bcf23bf.jpg” alt=”image” />
<p>Image 2</p>
</div>
<div class=”item”>
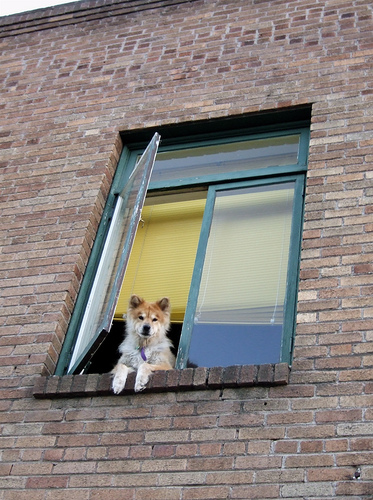
<img src=”images/248397811_0e7f1991be.jpg” alt=”image” width=”373″ height=”500″ />
<p>Image 3</p>
</div>
<div class=”item” >
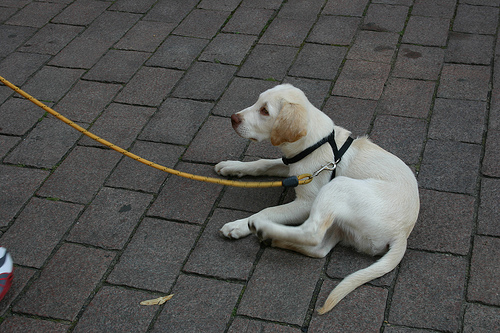
<img src=”images/1058831139_3dbe9e47b9.jpg” alt=”image” width=”500″ height=”333″ />
<p>Image 4</p>
</div>
<div class=”item” >
<img src=”images/860213842_62e9bc4bcc.jpg” alt=”image” width=”500″ height=”333″ />
<p>Image 5</p>
</div>
</div><div id=”large”>
<div class=”info”>Click A Thumbnail on the Left</div>
</div>
<!– Image Gallery by https://tutorialdog.com –>
</div>
How the Javascript Works
The javascript you see above was the only part I needed to create- the rest is provided by the mootools framework. The first line, “window.addEvent(’domready’, function() {” and the closing brackets at the end is require of all (almost all) mootools scripts. The two variables at the beginning (var drop & var dropFX) govern the element with id=”large” in the html and the background color of that element.
The next part is just a function to get the image from the ‘items’ part of the html to the ‘large’ part of the html. “$$(’.item’).each(function(item){” basically says that for each html element identified under the class ‘item’, apply the following conditions to element. Now there is only one condition which would be “item.addEvent(’click’, function(e) {”. This line of code says that when the item is clicked, apply the follow instructions in the functions brackets. If you wanted to, you could change the word ‘click’ to ‘moueover’ and instead of needing to click on each photo, you would simply need put the mouse over the thumbnail image to get the large image to appear and essential get the function to trigger.
The code inside that ‘click’ function essential clears the items in the ‘large’ element and creates a clone of that ‘item’ class that was clicked and puts (injects) it into the ‘large’ element in the html.
Conclusion
If you’re just looking for a quick yet cool javascript image gallery, then download the included zip file and tweak the css to your liking. If you want to find out more about Mootools and creating really cool web apps, then check out the mootool demos which shows a variety of cool uses and a lot more functionality.